Cubie. 3D-printable toy editor
Kids print endless pre-made toys from marketplaces because 3D CAD tools have too steep a learning curve. Cubie makes modeling as simple as building in Minecraft, automatically generating print-in-place joints so kids can design and 3D print real articulated toys.
A 3D printer, and a marketplace of someone else's ideas
My daughter got a 3D printer. The first thing you do with one is print something, and the slicer app ships with its own catalog: phone stands, anime keychains, dinosaur skulls, all ready to click and print. It's satisfying for about an afternoon.
Then the catch becomes clear: nobody actually made anything. Between marketplaces of pre-baked meshes and generative AI tools, the hands-on act of inventing a physical object quietly slipped out of the picture.
I went looking for a tool that would let someone start from a blank slate — without CAD training, without understanding tolerances or mechanical joints — and hold a toy they designed themselves by dinner. It didn't exist.
Build it like Minecraft
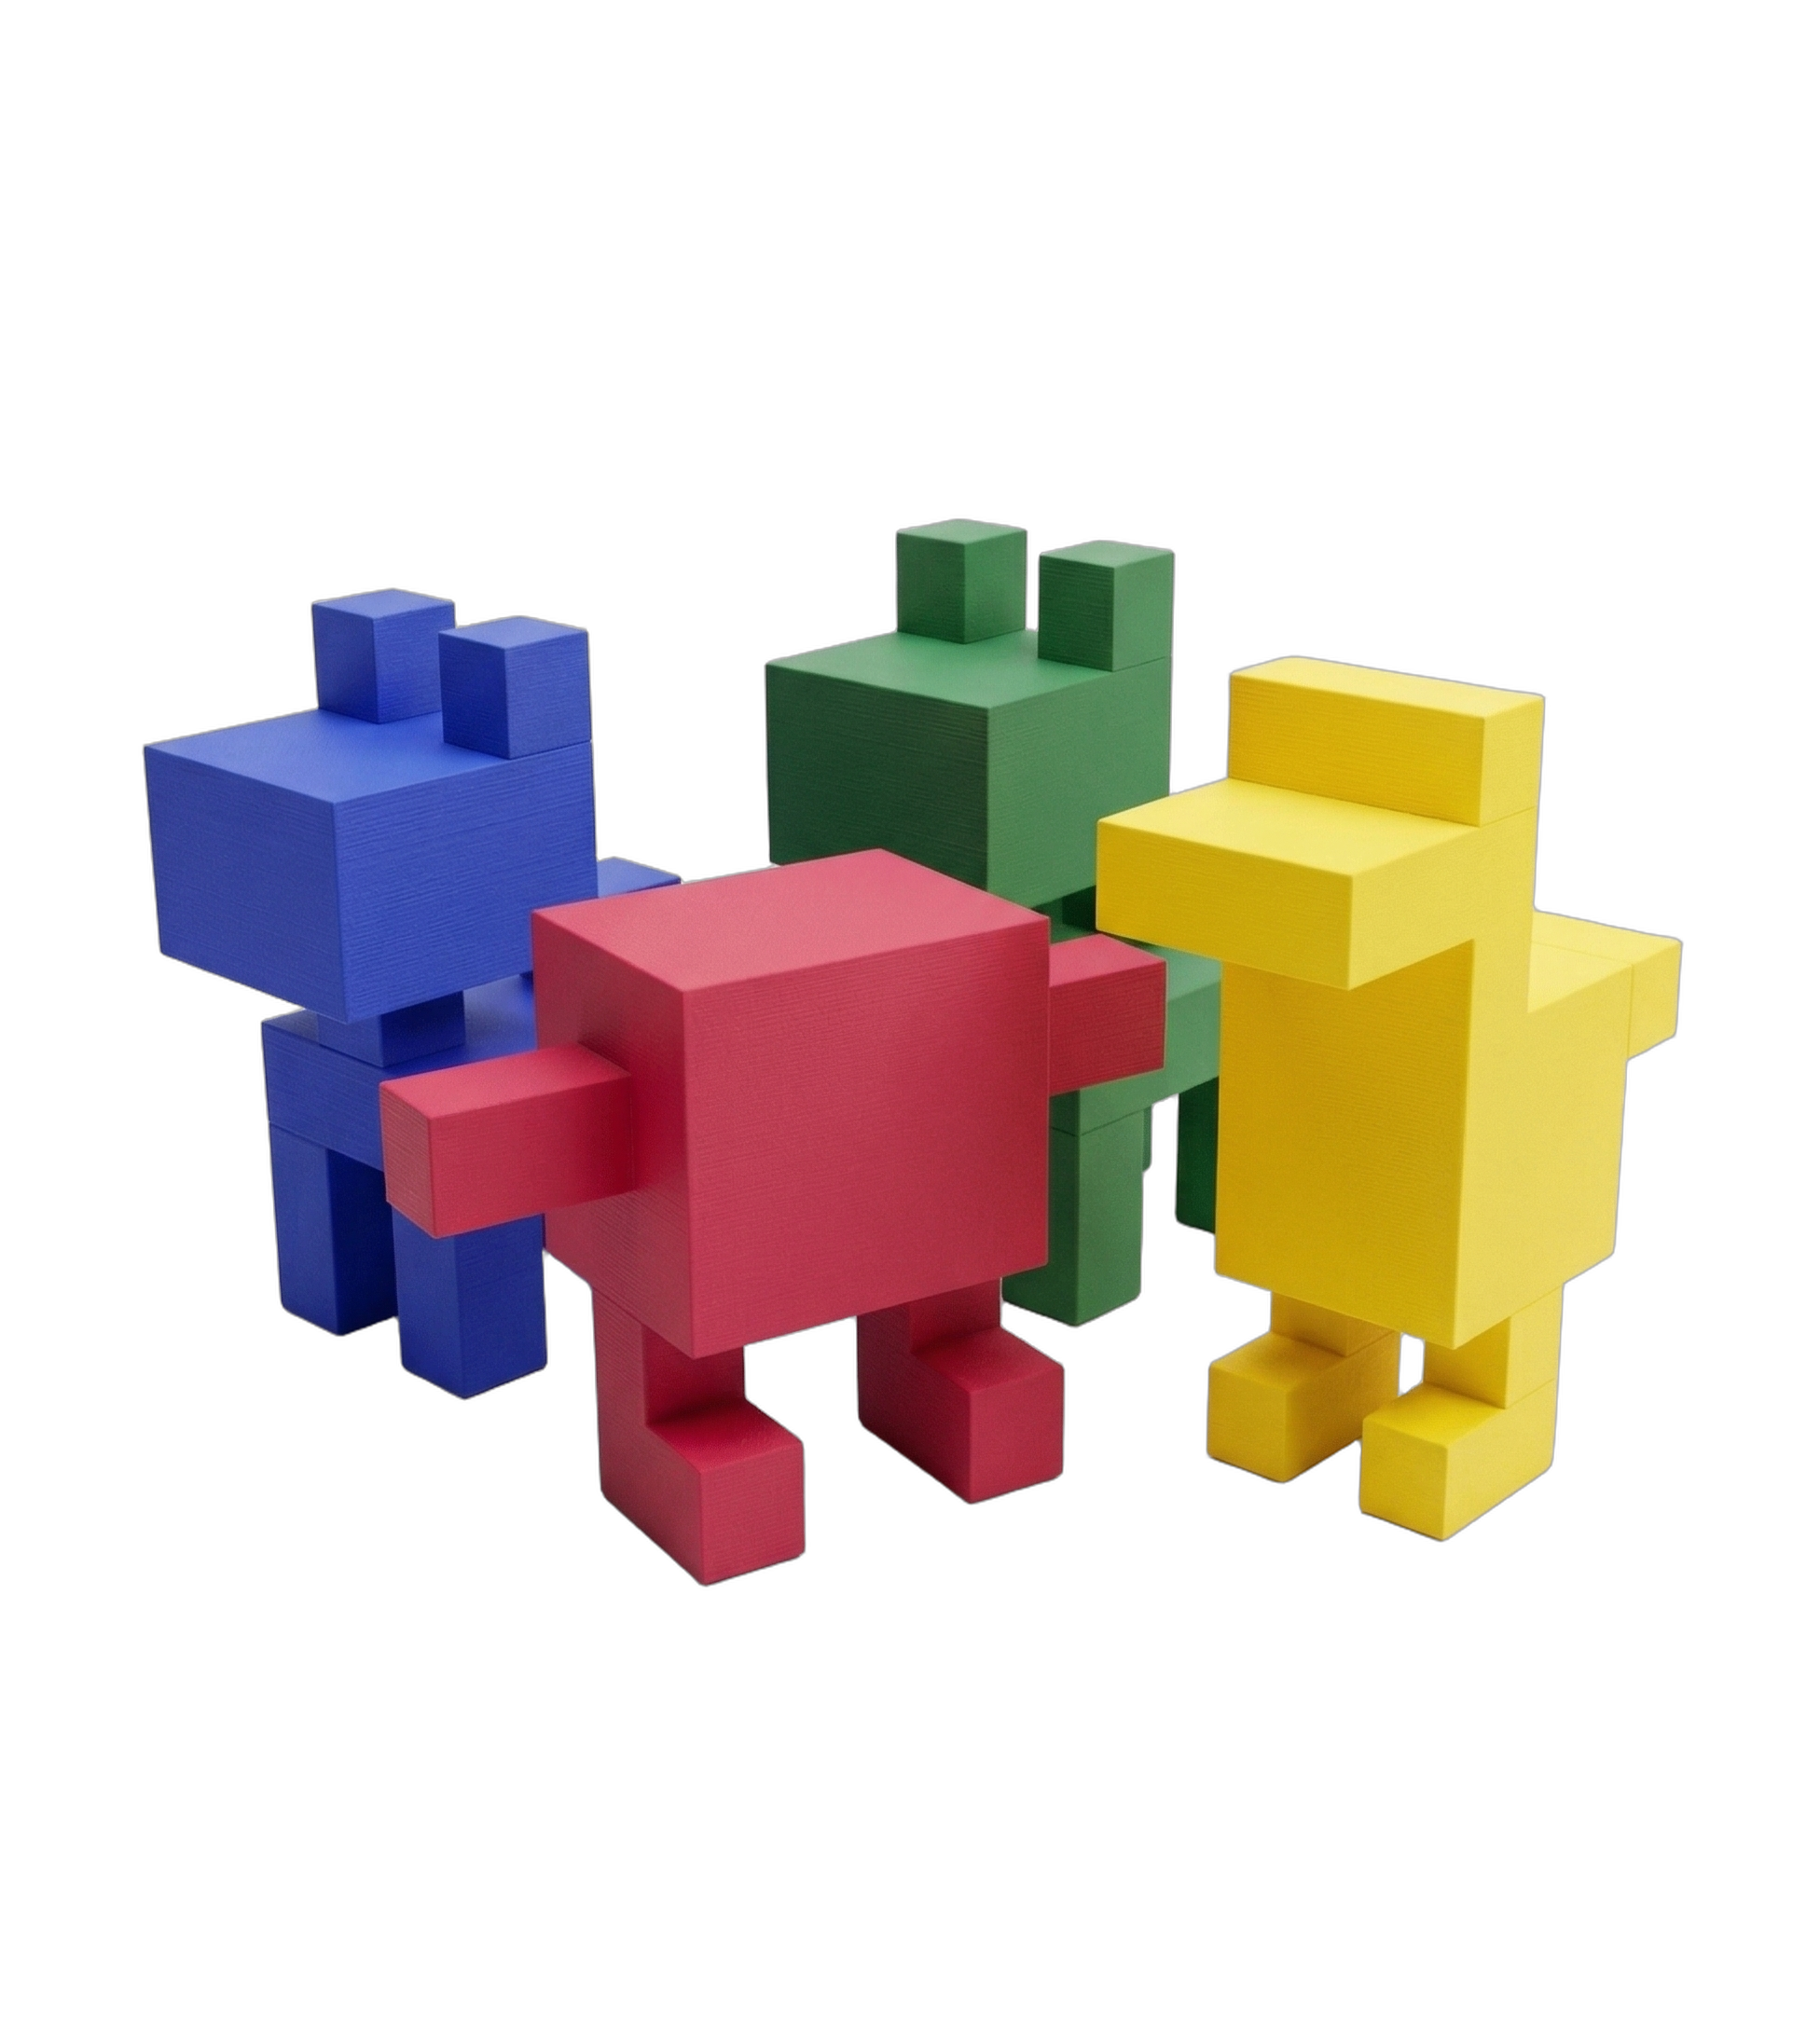
Kids already know how to model in three dimensions — they do it every day in Minecraft. Cubie builds on that same voxel instinct: you place cubes directly into a 3D scene, carve out volumes, and paint surfaces.
There are three ways to work: Sketch mode on a flat grid, layer-by-layer for structured vertical builds, and a first-person fly-through where you place blocks in mid-air — creative mode, with an export button at the end of it.
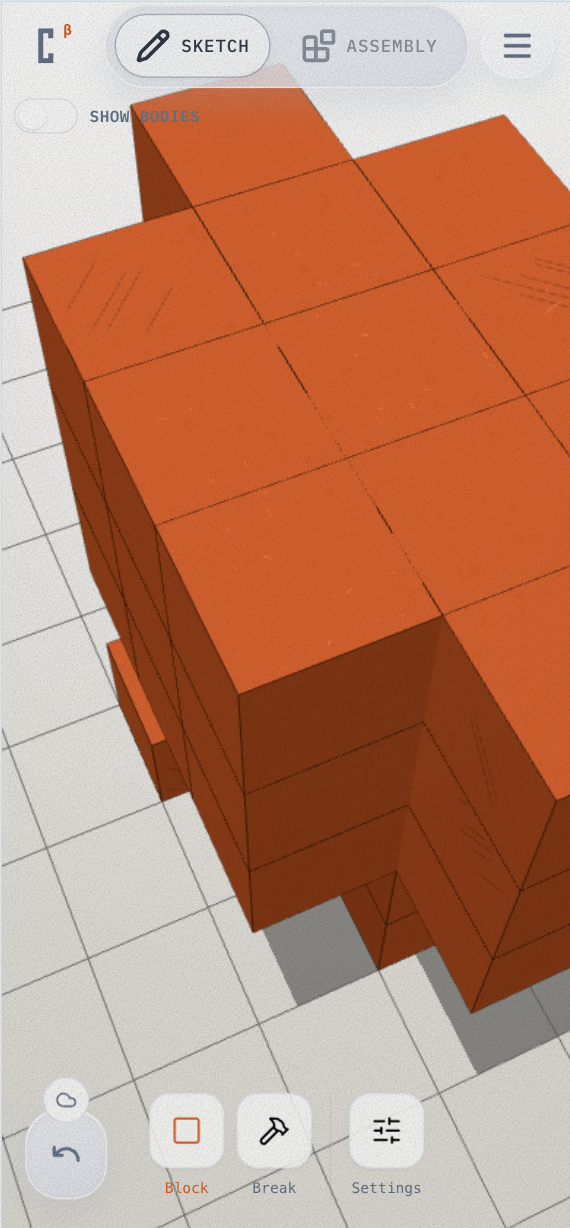
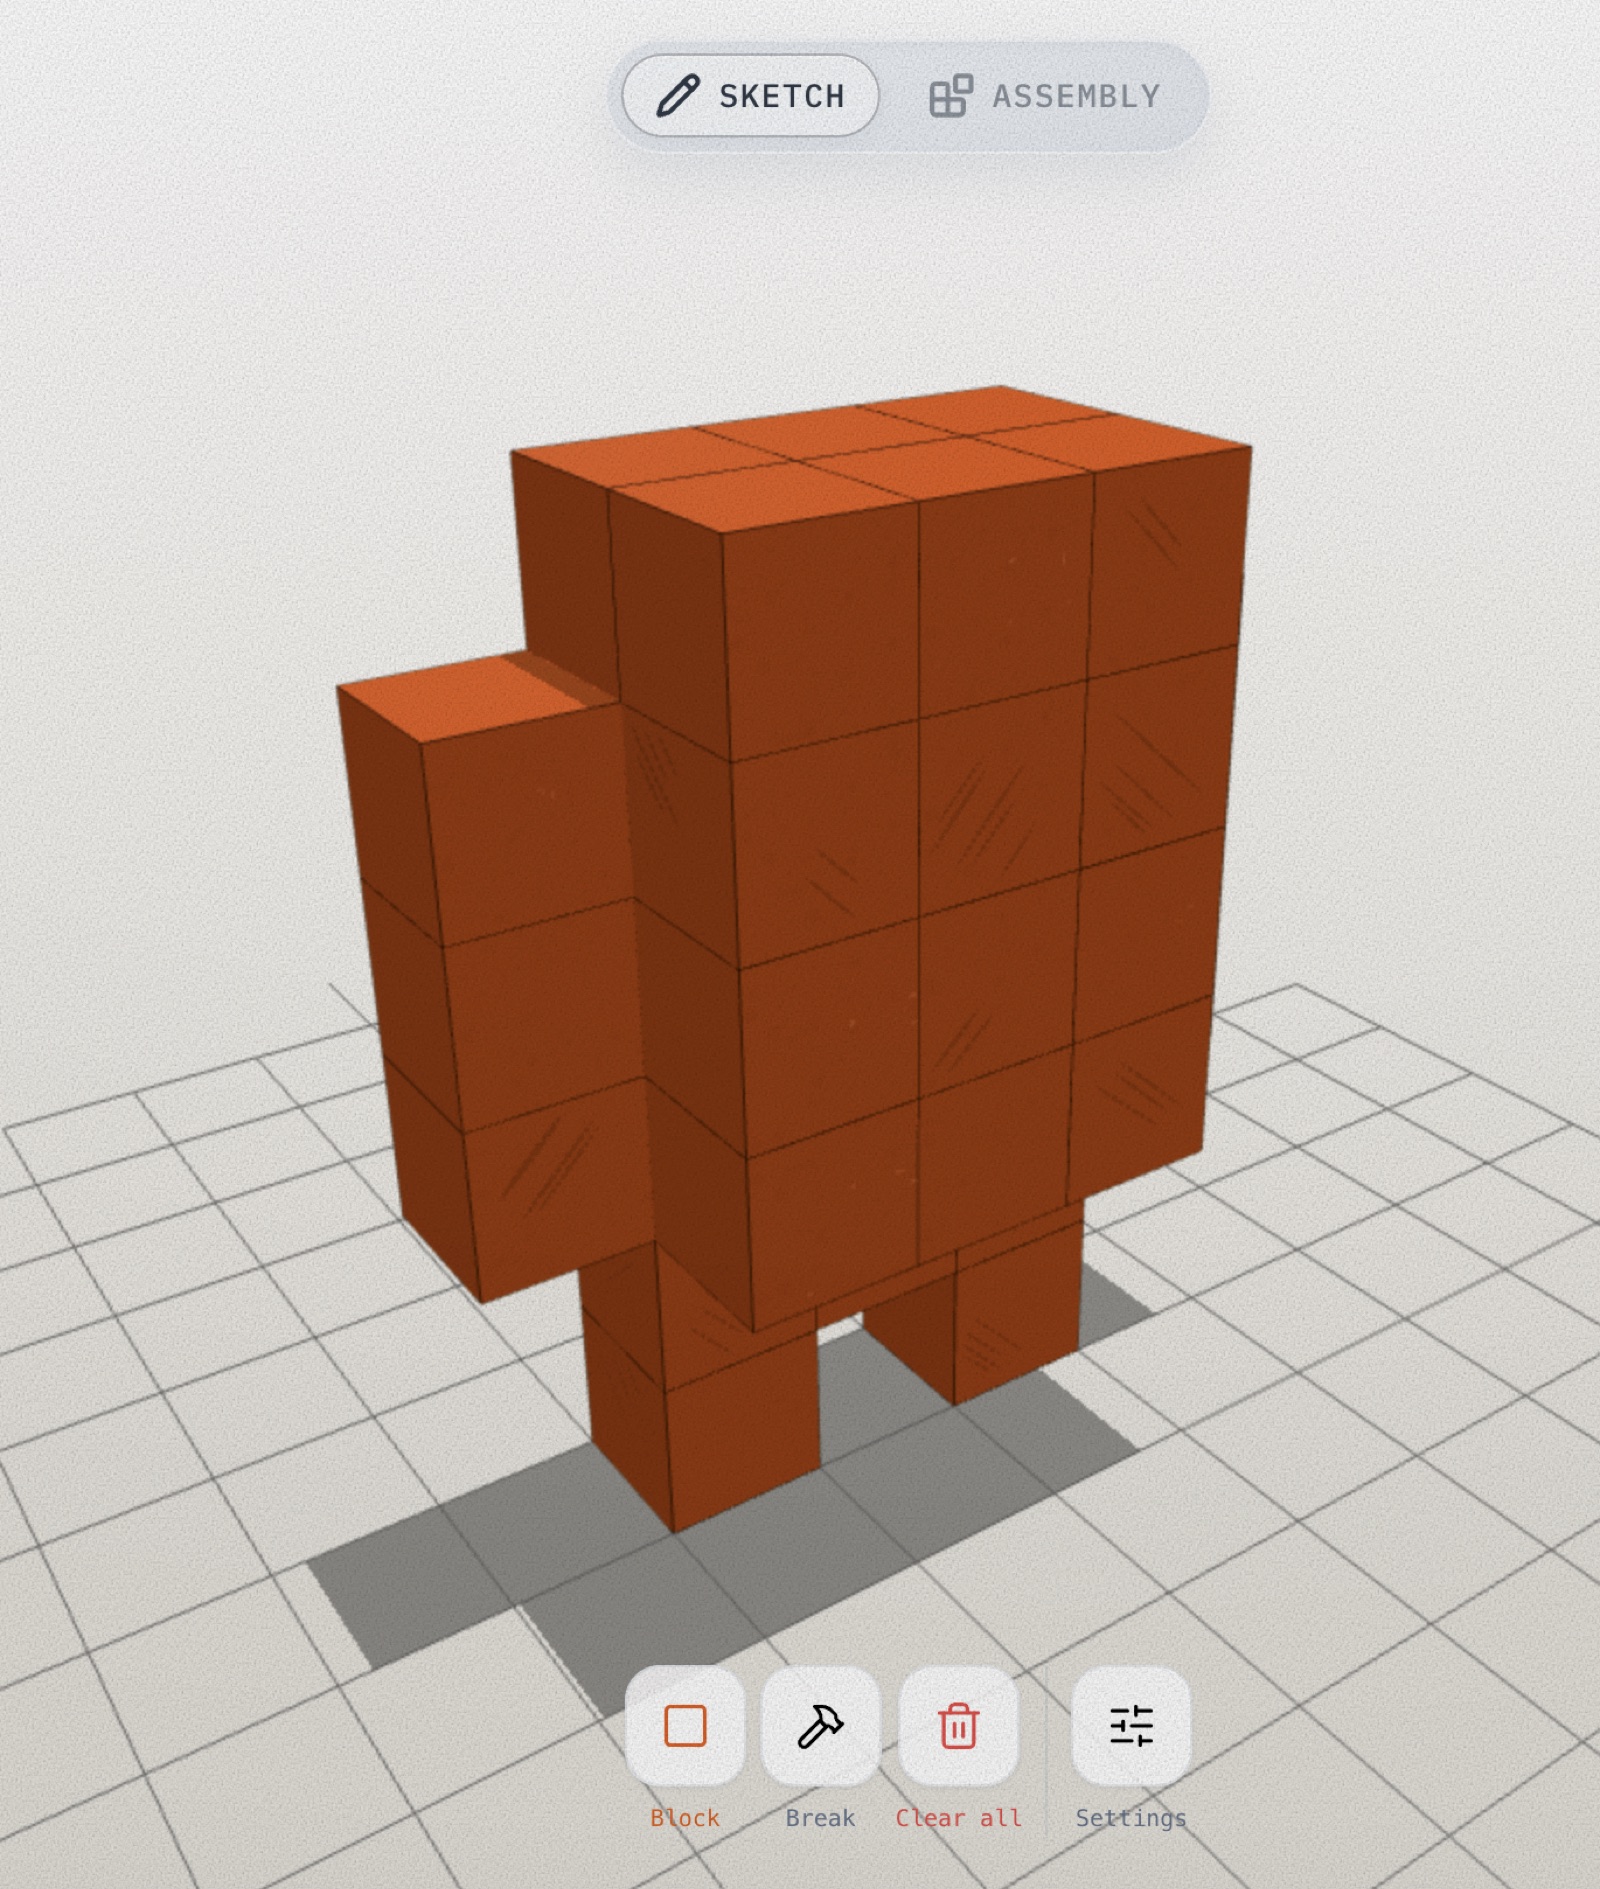
Same freedom as Minecraft's creative mode. What you build here, you can hold.
Press Assembly
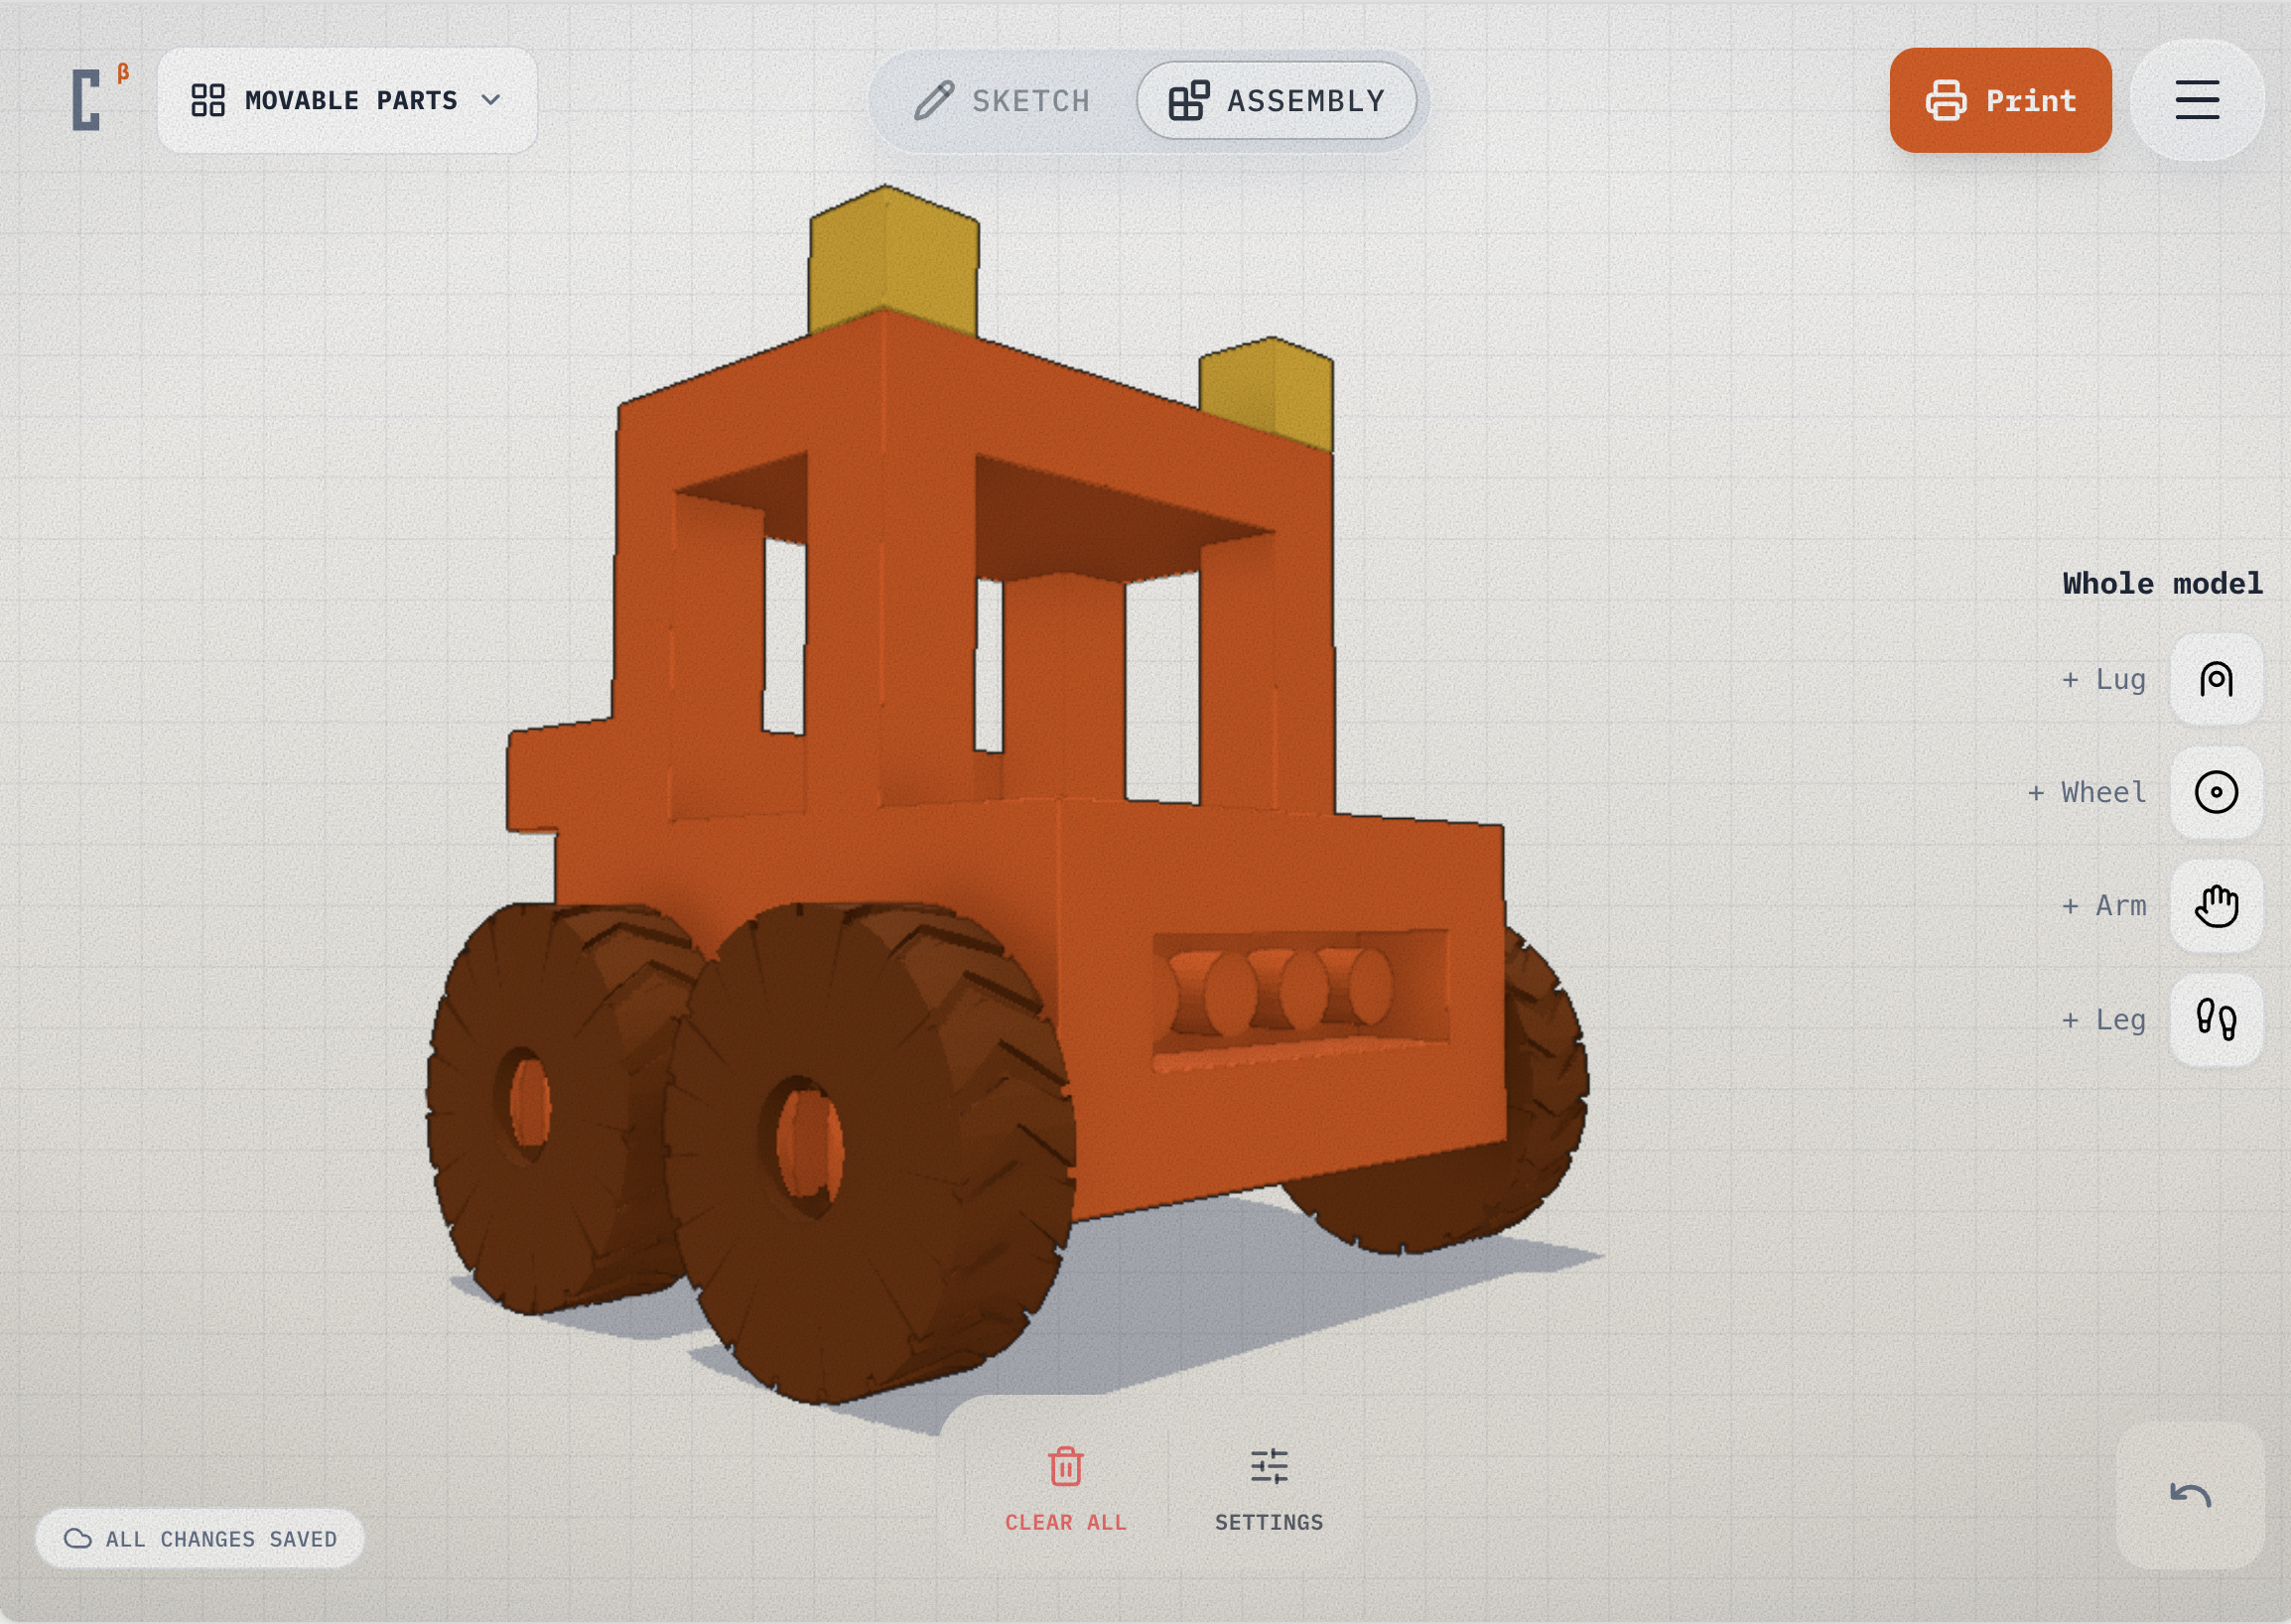
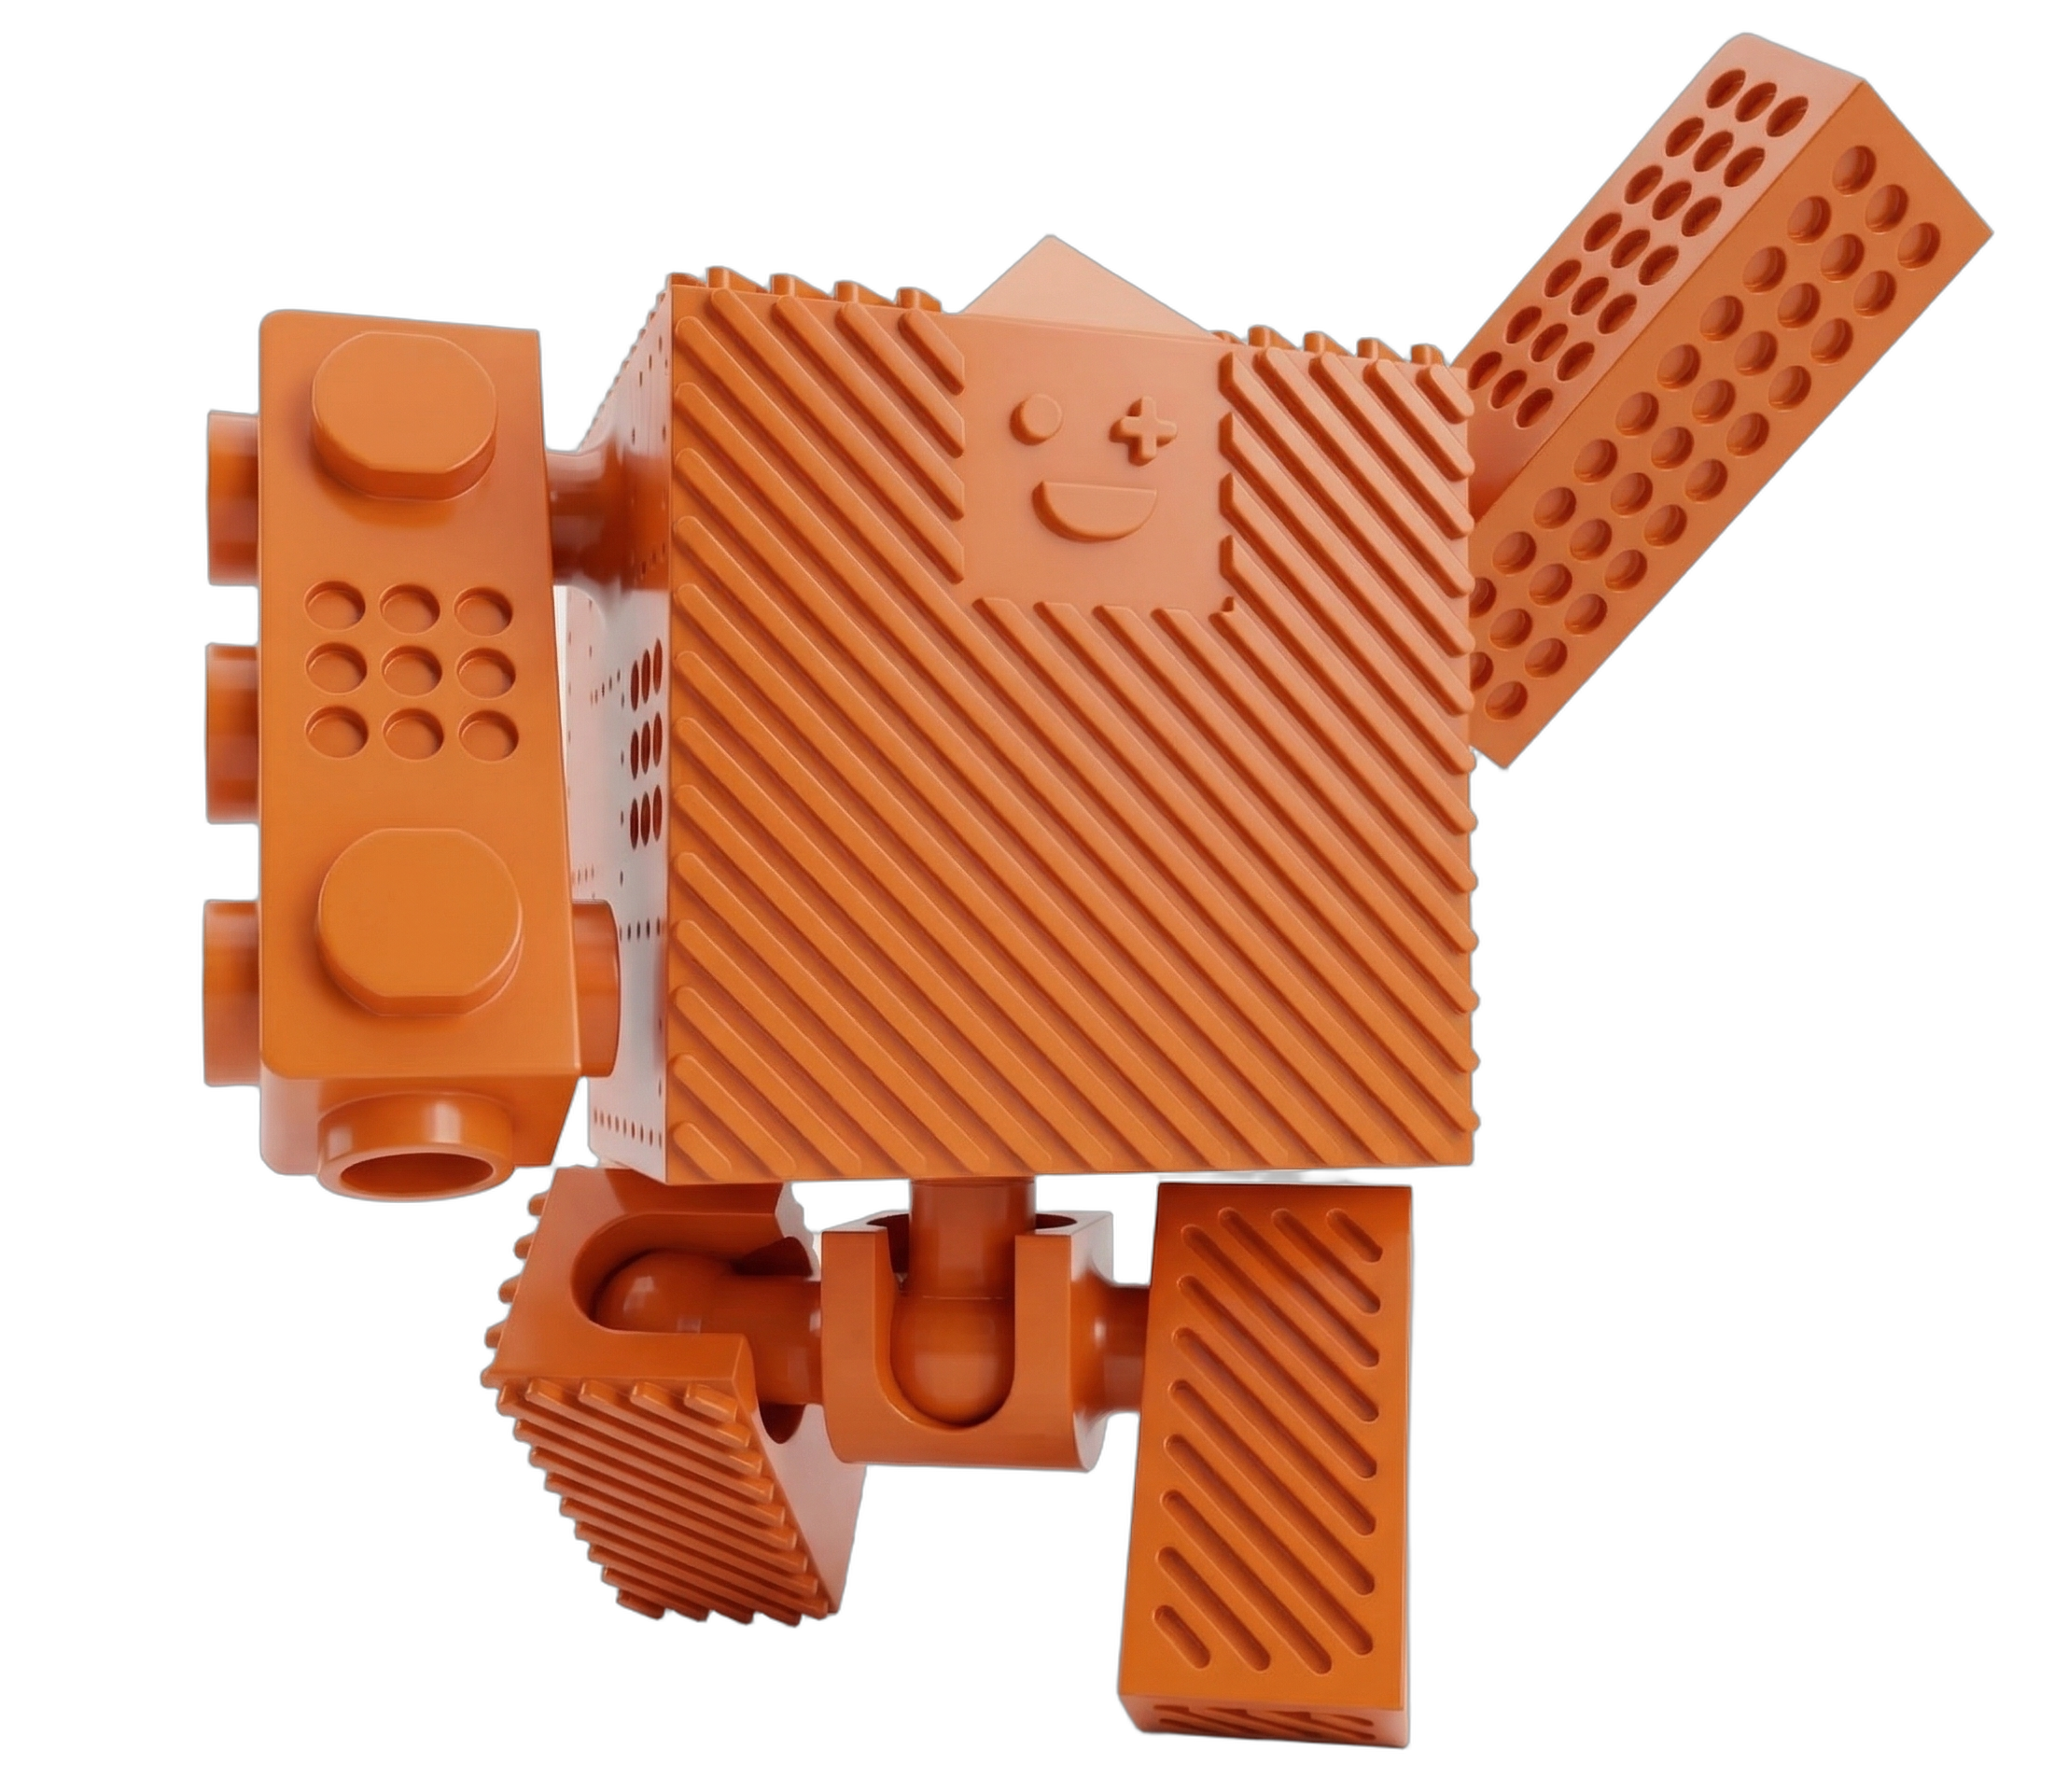
When the voxel shape is finished, you switch to Assembly. Cubie scans where parts meet, detects the contact planes, and cuts the model into separate pieces with snap-fit ball joints embedded between them. From there, you export directly to 3MF or STL for standard FDM printing.
In the editor, every connection stays interactive: rotate a shoulder, bend an arm, or flex a limb to test how the toy will move before printing it. And for solid figures, joints can simply be turned off.
Four desktop layouts in a week
As the editor grew, new parts kept arriving: springs, chain links, wheels you could resize interactively, and limbs — arms, legs, sneaker feet, robot legs, paws. With every new feature, the interface started crowding the 3D model.
Four times in a single week I tore down the desktop layout and rebuilt it. I moved the action buttons around and tested them continuously: trying them across the top, down the side, and in compact floating trays. The rule was that primary actions had to stay immediately visible and accessible, without encroaching on the model itself. To make it work, I added text labels beside the icons, tightened the controls, and added animated previews for the joints so you can see how each connection behaves before placing it.
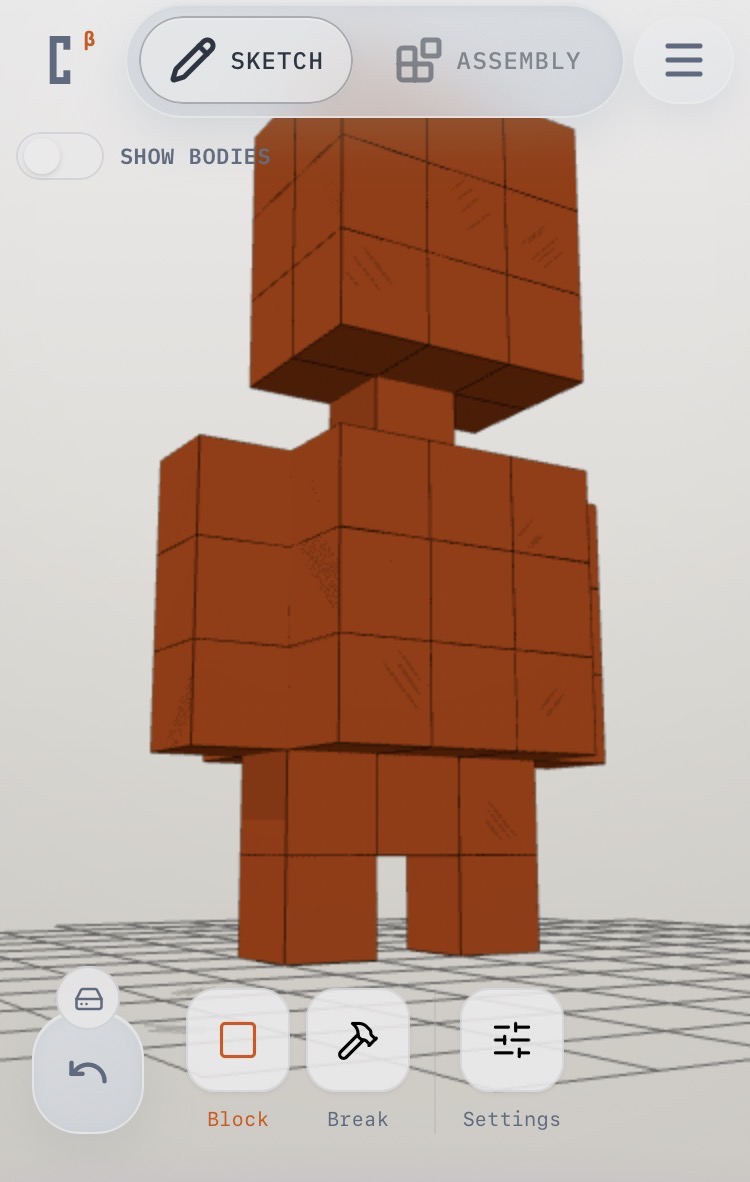
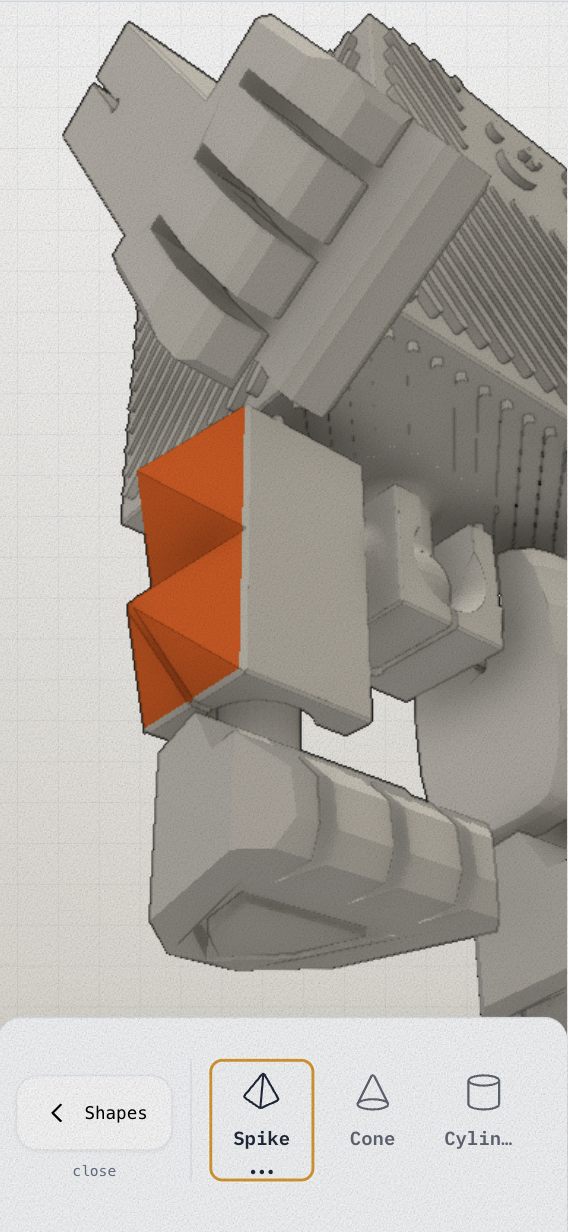
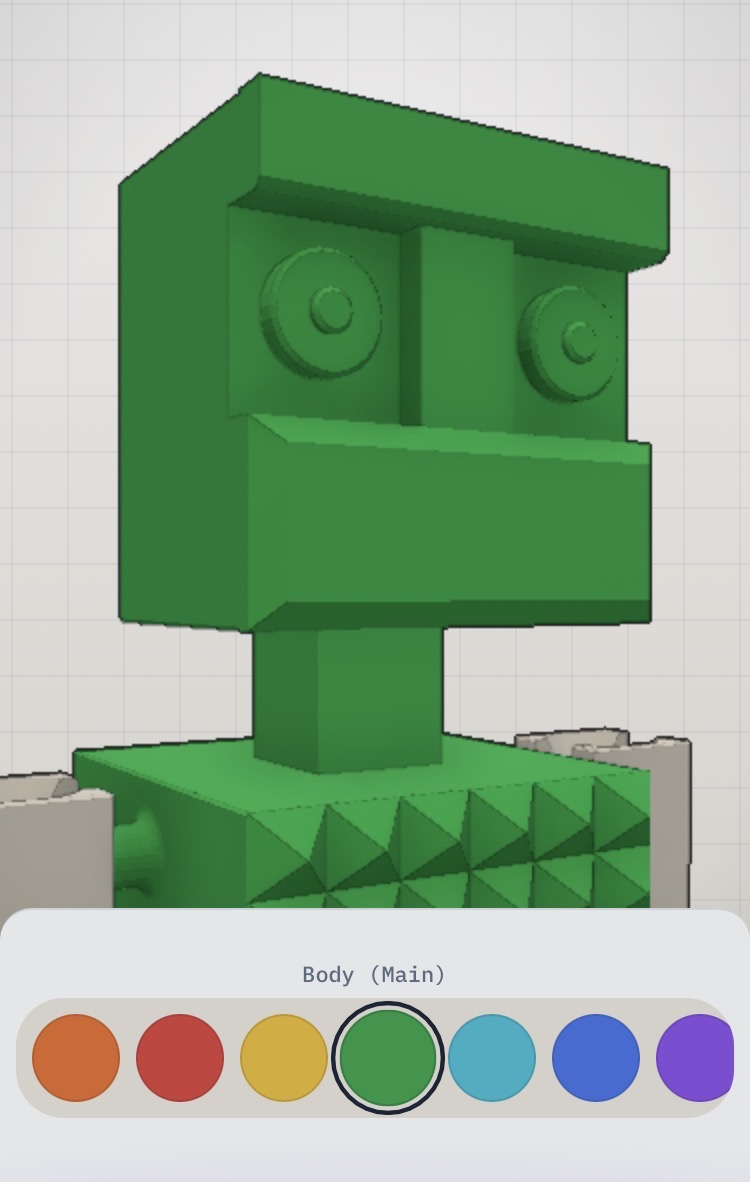
Mobile needed a completely different structure. Rather than shrinking the desktop controls onto a phone, I moved all tool actions into a horizontal bottom ribbon you can sweep through with a thumb — leaving the canvas clear above.
Sketch Mode
Sketch on a phone — block, break, settings, nothing else in the way.
Bottom Ribbon
Paint comes up as a sheet from the bottom — one row, one thumb.
Keep the primary actions in sight. Leave the 3D canvas completely free.
Surfaces you want to hold
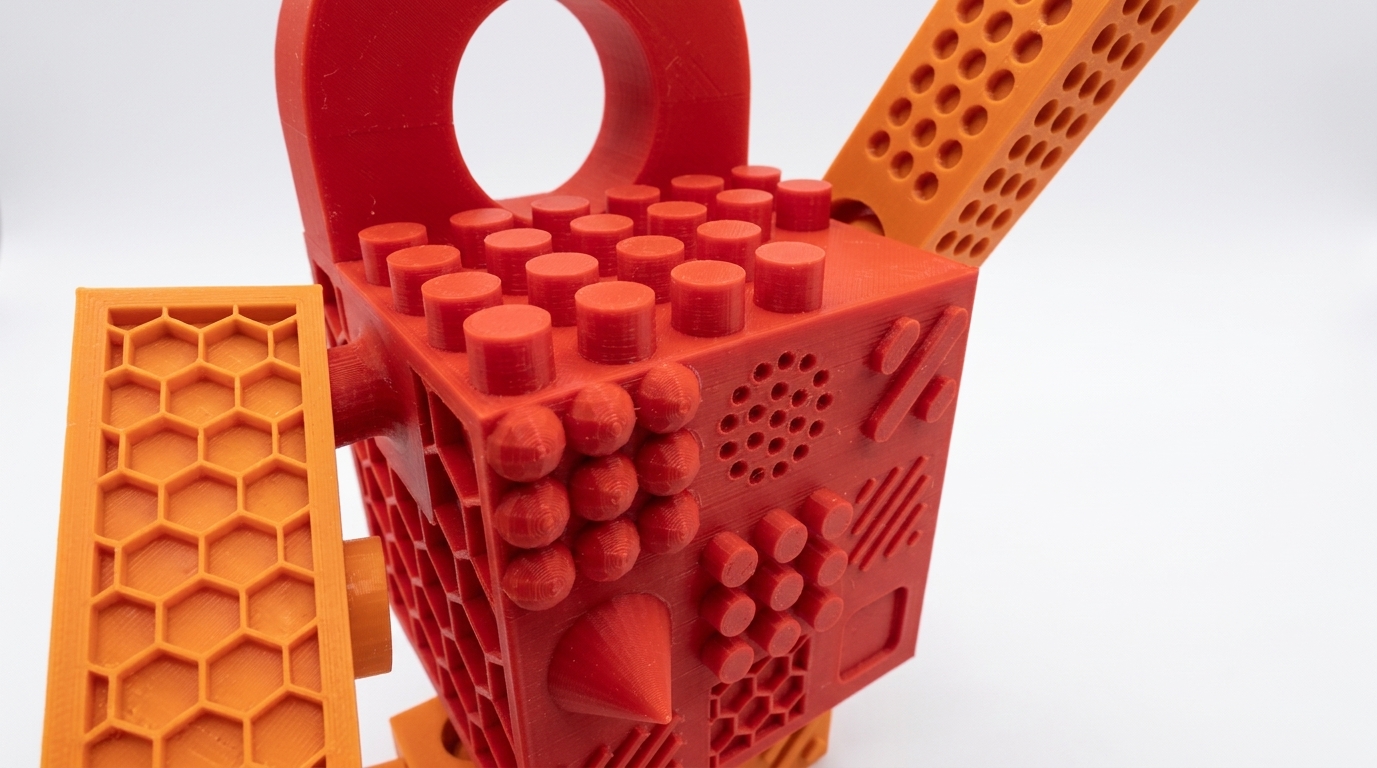
A separate pass went into texture: reliefs — studs, domes, bumps — and counter-reliefs — recesses, slots, honeycomb — that stamp onto any face of a cube. The point isn't decoration. A plain plastic block doesn't ask to be picked up. One with texture does.
Starter Templates
Not sure where to start? Pick one of the built-in characters and modify it, or use it as-is to learn the workflow before designing your own.
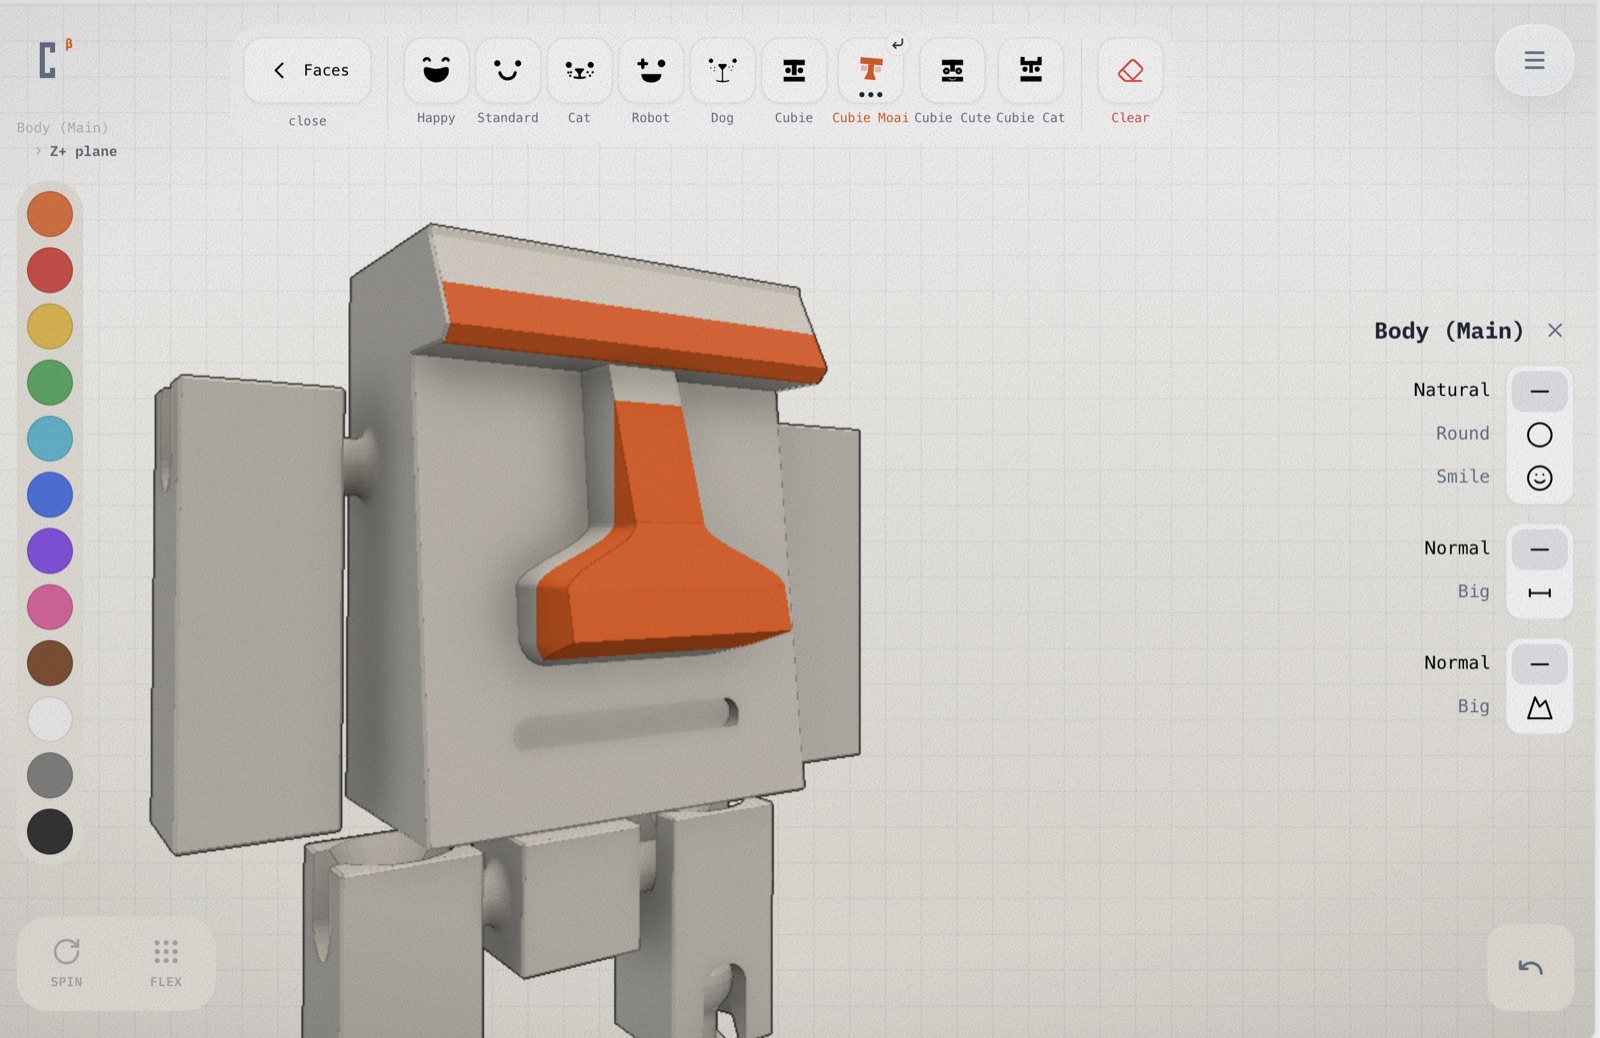
Faces are the same idea, one level down: a body stays a body, but the face stamped onto it is its own pick — Happy, Standard, Cat, Robot, Dog, a couple of Cubie house styles, a Moai. Mouth and nose each get their own small variations on top, so the same starter body doesn't have to look like everyone else's.
It comes off the printer
Everything above is a browser doing math about plastic it has never touched. The only proof that any of it works is the physical object in your hand — a ball joint that actually snaps into place, an arm that rotates smoothly, surface texture that survives under standard layer heights.
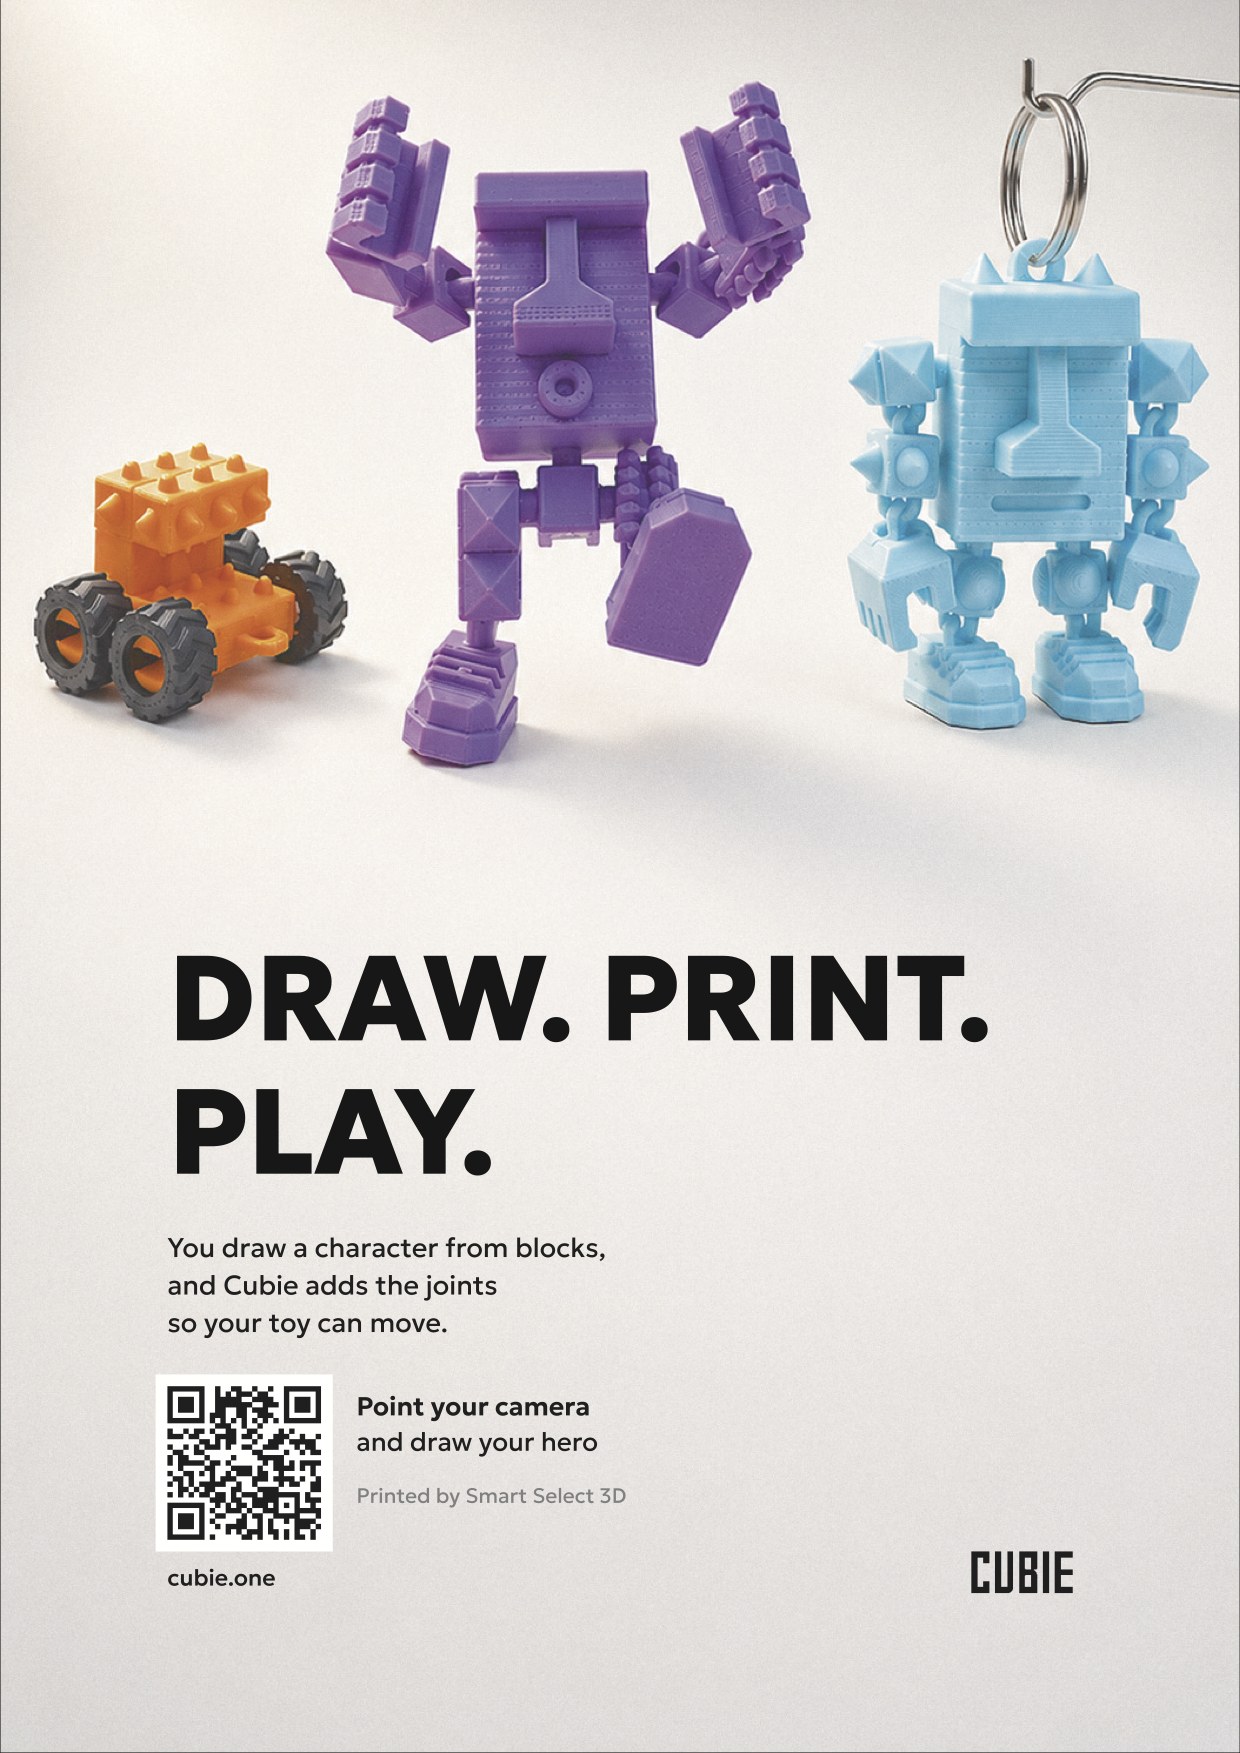
The models were printed straight from the editor's export without touching CAD or mesh repair tools in between. The tractor, the raised-arm robot, and the spiked keychain on the poster came off the bed ready to assemble.
About the rough edges
You'll run into some. Cubie reached the point where shipping it and hearing from actual people teaches more than another month of polishing alone. I'm working through them as they turn up.
Under the hood
Three.js renders the 3D scene in the browser. Google's Manifold library runs the boolean CSG operations under the hood, ensuring the automatic cuts and joints produce clean, watertight meshes ready for slicing.
More projects